
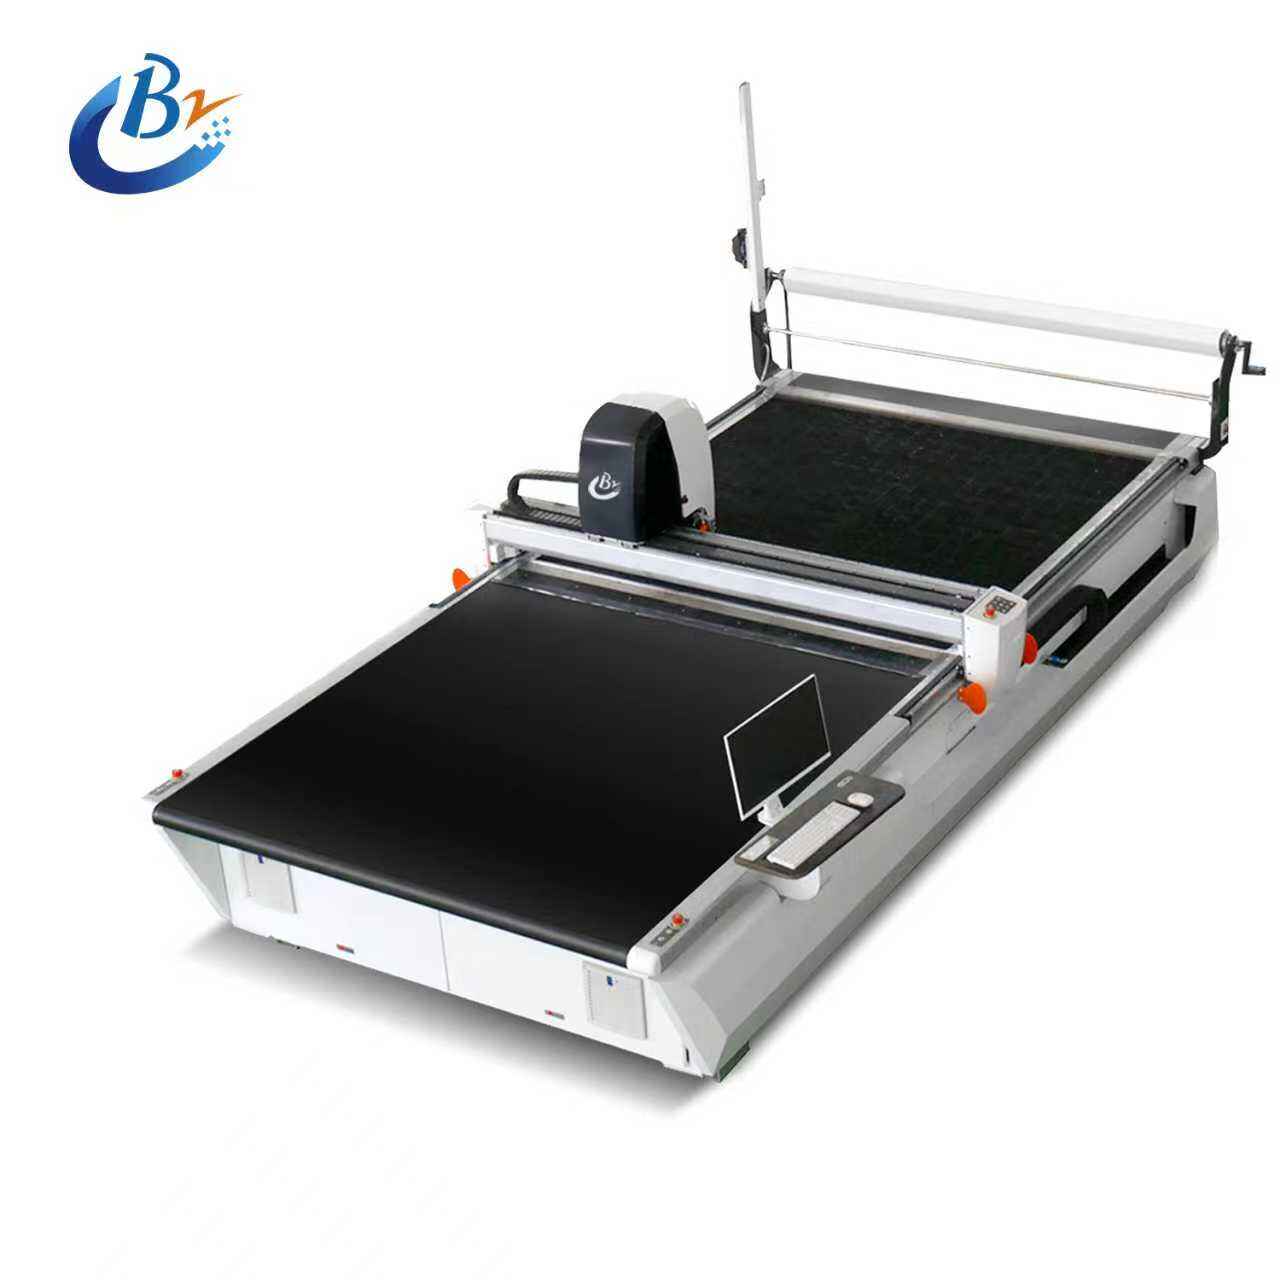
Achieving perfect square cuts with an auto fabric cutter requires precise blade alignment that ensures consistent cutting accuracy across all fabric layers. Professional textile manufacturers and garment producers understand that even minor blade misalignments can result in angled cuts, frayed edges, and material waste that directly impacts production quality and cost efficiency. The blade alignment process involves systematic calibration procedures that establish optimal cutting angles and maintain perpendicular blade positioning relative to the fabric surface.
Proper blade alignment on an auto fabric cutter eliminates cutting deviations that commonly occur when blades drift from their intended cutting path during extended production runs. This alignment process involves multiple adjustment points including blade holder positioning, cutting head calibration, and vacuum table leveling that work together to ensure square cuts remain consistent throughout batch processing operations. Understanding these alignment principles enables operators to maintain cutting precision while maximizing fabric utilization and minimizing rework requirements.
Understanding Blade Alignment Fundamentals in Auto Fabric Cutters
Critical Alignment Points That Affect Cutting Accuracy
The blade alignment system in an auto fabric cutter consists of multiple interconnected components that must work in precise coordination to achieve perfect square cuts. The primary alignment points include the blade holder assembly, cutting head mounting system, and guide rail positioning mechanisms that maintain blade perpendicularity throughout the cutting process. Each alignment point contributes to overall cutting accuracy, and misalignment at any single point can cascade into significant cutting errors across the entire fabric surface.
Blade holder alignment represents the most critical adjustment point because it determines the fundamental cutting angle relative to the fabric surface. The holder must maintain exact perpendicular positioning while accommodating the rotational forces generated during high-speed cutting operations. Modern auto fabric cutter systems incorporate precision adjustment screws and locking mechanisms that allow operators to fine-tune blade angles in incremental steps, typically measured in fractions of degrees to ensure optimal cutting performance.
Cutting head calibration affects blade stability during traverse movements across the cutting table, preventing blade deflection that can cause angled cuts or irregular edge quality. The cutting head assembly must maintain consistent height positioning while the blade penetrates fabric layers, ensuring uniform cutting depth without compromising material integrity. Advanced auto fabric cutter designs include automatic height adjustment systems that compensate for fabric thickness variations while maintaining blade alignment throughout the cutting cycle.
Measurement Systems for Blade Position Verification
Accurate blade alignment verification requires systematic measurement procedures that quantify blade position relative to established reference points on the auto fabric cutter frame. Professional alignment processes utilize precision measurement tools including dial indicators, digital calipers, and laser alignment systems that detect minute deviations from optimal blade positioning. These measurement systems enable operators to identify specific alignment issues and implement targeted corrections that restore cutting accuracy.
Digital measurement systems integrated into modern auto fabric cutter platforms provide real-time feedback on blade position and cutting angle deviations during operation. These systems continuously monitor blade alignment parameters and alert operators when adjustments become necessary to maintain cutting quality standards. The measurement data helps establish maintenance schedules and identifies potential mechanical issues before they impact production quality.
Reference point establishment creates the foundation for all blade alignment procedures by defining fixed coordinate positions that remain constant throughout the alignment process. These reference points typically include machine frame edges, cutting table surfaces, and guide rail positions that provide stable measurement baselines. Proper reference point selection ensures alignment accuracy and enables consistent results across multiple alignment sessions.
Step-by-Step Blade Alignment Procedures
Initial Setup and Safety Preparation
Beginning the blade alignment process on an auto fabric cutter requires comprehensive safety preparations that protect operators while ensuring accurate measurement results. The cutting system must be completely powered down and locked out using appropriate safety procedures to prevent accidental blade movement during alignment activities. All fabric materials and cutting debris should be removed from the cutting table to provide clear access to alignment reference points and measurement areas.
Cleaning the cutting table surface and guide rails eliminates accumulated fabric fibers and cutting residue that can interfere with measurement accuracy during the alignment process. The blade itself requires thorough cleaning to remove any material buildup that might affect its cutting geometry or measurement readings. Fresh cutting blades often provide the most accurate alignment results because worn blades may have irregular edge geometry that complicates the alignment process.
Tool preparation involves gathering all necessary measurement instruments, adjustment tools, and reference materials required for the alignment procedure. Standard alignment tool kits for auto fabric cutter systems typically include precision rulers, angle gauges, adjustment wrenches, and blade holding fixtures that facilitate safe blade handling during the alignment process. Having all tools readily available prevents workflow interruptions and ensures the alignment process proceeds efficiently.
Primary Blade Angle Adjustment
The primary blade angle adjustment establishes the fundamental cutting angle that determines square cut accuracy across the entire fabric surface. This adjustment process begins by securing the blade in its holder assembly and positioning the cutting head at the alignment reference location on the cutting table. The blade angle is then measured relative to the table surface using precision angle measurement tools that detect deviations from the target perpendicular position.
Adjustment screws located on the blade holder assembly allow precise angle corrections in both forward-backward and side-to-side orientations. These adjustments typically require incremental changes measured in small angular increments, with each adjustment followed by measurement verification to confirm the correction direction and magnitude. The auto fabric cutter blade alignment process demands patience and systematic approach to achieve the precision required for perfect square cuts.
Locking mechanisms secure the blade holder in its adjusted position once the optimal angle is achieved, preventing drift during cutting operations that could compromise alignment accuracy. The locking procedure must apply sufficient force to maintain blade stability while avoiding over-tightening that might distort the holder assembly or create stress concentrations that affect cutting performance. Final angle verification confirms that the locking process has not introduced any unintended position changes.
Cutting Head Height and Position Calibration
Cutting head height calibration ensures consistent blade penetration depth across varying fabric thicknesses while maintaining optimal cutting pressure for clean edge formation. The height adjustment system on an auto fabric cutter must accommodate different fabric types and layer combinations without compromising blade alignment or cutting quality. Proper height setting prevents excessive blade penetration that can damage the cutting table while ensuring complete fabric penetration for clean cuts.
Position calibration aligns the cutting head travel path with the intended cutting coordinates, ensuring that programmed cutting patterns translate accurately to fabric positioning. This calibration process involves verifying that the cutting head moves precisely along its guide rails without deviation or backlash that could affect cutting accuracy. The calibration procedure typically includes testing cutting head movement at various positions across the cutting table to identify any position-dependent alignment variations.
Automatic calibration features available on advanced auto fabric cutter systems can streamline the height and position adjustment process by using sensors to detect fabric surface position and automatically adjust cutting parameters accordingly. These systems reduce setup time while maintaining consistent cutting quality across different fabric types and production runs. Manual override capabilities allow operators to fine-tune automatic settings when specific fabric characteristics require customized cutting parameters.
Verification and Testing Methods for Square Cut Accuracy
Test Cut Procedures for Alignment Verification
Systematic test cutting procedures provide definitive verification of blade alignment accuracy by demonstrating actual cutting performance under realistic operating conditions. The test cutting process begins with selecting representative fabric samples that match typical production materials in terms of thickness, weave structure, and fiber composition. These test samples should be large enough to accommodate multiple cut patterns while providing sufficient material for accurate measurement of cut angles and edge quality.
Square cut testing involves programming the auto fabric cutter to execute simple geometric patterns including squares, rectangles, and straight lines that clearly reveal any alignment deviations. The cutting patterns should include cuts in multiple directions to verify blade alignment consistency regardless of cutting direction or head travel path. Test cuts at various speeds help identify speed-dependent alignment issues that might not appear during slow-speed alignment procedures.
Measurement of test cut results requires precision instruments capable of detecting small angular deviations that indicate alignment problems. Digital calipers, precision rulers, and angle measurement tools provide quantitative data on cutting accuracy that can be compared against established quality standards. The measurement process should include checking cut edge perpendicularity, corner angles, and overall dimensional accuracy to ensure comprehensive alignment verification.
Quality Control Standards and Tolerances
Establishing quality control standards for auto fabric cutter blade alignment requires defining acceptable tolerance ranges that balance cutting accuracy requirements with practical manufacturing considerations. Industry standards for textile cutting typically specify angular tolerances measured in fractions of degrees, with tighter tolerances required for precision applications such as technical textiles or high-end garment production. These tolerance specifications guide alignment procedures and provide objective criteria for determining when blade realignment becomes necessary.
Tolerance verification involves systematic measurement of cut samples using calibrated measurement instruments that provide traceable accuracy standards. The verification process should include statistical analysis of multiple test cuts to identify alignment consistency and detect any systematic deviations that indicate adjustment requirements. Documentation of verification results creates a quality record that supports compliance with manufacturing standards and customer requirements.
Continuous monitoring protocols help maintain alignment accuracy over time by establishing regular inspection schedules and measurement procedures that detect alignment drift before it impacts production quality. These protocols typically include daily quick checks, weekly detailed measurements, and monthly comprehensive alignment verification procedures that ensure consistent cutting performance throughout extended production runs.
Troubleshooting Common Alignment Issues
Identifying Alignment Problems Through Cut Analysis
Systematic analysis of cutting results provides valuable diagnostic information for identifying specific alignment problems affecting auto fabric cutter performance. Cut edge examination reveals characteristic patterns that correspond to different types of alignment issues, enabling operators to pinpoint the root cause of cutting problems and implement targeted corrections. Angular cuts typically indicate blade holder misalignment, while inconsistent cut quality across the cutting area suggests cutting head positioning problems.
Edge quality analysis examines the microscopic characteristics of cut edges to identify alignment-related cutting problems such as blade deflection, excessive cutting forces, or improper blade angles. Frayed edges, pulled threads, or compressed fabric areas indicate specific alignment issues that require different correction approaches. Digital microscopy and magnification tools help identify subtle edge quality problems that might not be apparent during visual inspection.
Pattern analysis involves examining multiple cuts to identify systematic alignment problems that affect cutting consistency across different fabric areas or cutting directions. Consistent angular deviations across all cuts suggest fundamental blade alignment issues, while variable cutting problems might indicate mechanical wear, loose connections, or dynamic alignment changes during cutting operations. The analysis process helps prioritize correction efforts and prevents unnecessary adjustments that might not address the actual problem.
Corrective Actions for Persistent Alignment Problems
Persistent alignment problems on an auto fabric cutter often require comprehensive mechanical inspection and systematic correction procedures that address underlying causes rather than just symptoms. Worn guide rails, loose mounting hardware, or damaged blade holders can create alignment instability that cannot be corrected through simple adjustment procedures. These mechanical issues require component replacement or repair before stable blade alignment can be achieved.
Environmental factors including temperature variations, vibration exposure, and facility settling can affect auto fabric cutter alignment stability over time. Climate-controlled environments help minimize thermal expansion effects that can alter machine geometry and affect blade alignment accuracy. Vibration isolation systems protect cutting equipment from external disturbances that might cause alignment drift during operation.
Preventive maintenance programs help avoid alignment problems by addressing mechanical wear and component degradation before they affect cutting performance. Regular lubrication, hardware tightening, and component inspection procedures maintain mechanical stability that supports consistent blade alignment. Maintenance schedules should be based on actual operating hours and cutting volume rather than calendar intervals to ensure appropriate maintenance timing.
FAQ
How often should I check blade alignment on my auto fabric cutter?
Blade alignment should be checked daily during startup procedures with a quick visual verification, and comprehensive alignment measurement should be performed weekly or after every 40-50 operating hours. High-volume production environments or when cutting abrasive materials may require more frequent alignment checks. Any noticeable change in cut quality, edge appearance, or dimensional accuracy indicates immediate alignment verification is needed regardless of the regular schedule.
What tools are essential for accurate blade alignment on an auto fabric cutter?
Essential alignment tools include precision dial indicators for measuring blade position, digital calipers for dimensional verification, angle gauges for blade angle measurement, and appropriate adjustment wrenches for the specific cutter model. A quality steel ruler, magnifying glass for edge inspection, and reference blocks for establishing measurement baselines complete the basic tool kit. Laser alignment tools can provide enhanced accuracy for critical applications but are not mandatory for standard alignment procedures.
Can environmental conditions affect auto fabric cutter blade alignment?
Yes, temperature fluctuations can cause thermal expansion of machine components that affects blade alignment accuracy, particularly in facilities without climate control. Vibration from nearby machinery, floor settling, or building movement can gradually shift alignment over time. Humidity changes may affect fabric dimensions and cutting characteristics, making alignment problems more apparent even when the blade position remains constant. Maintaining stable environmental conditions helps preserve alignment accuracy and cutting consistency.
What are the signs that indicate my auto fabric cutter blade alignment needs adjustment?
Key indicators include consistently angled cuts instead of square edges, varying cut quality across different areas of the cutting table, frayed or pulled fabric edges, and dimensional inaccuracies in cut pieces. Corner angles that measure other than 90 degrees, cut lines that appear curved or wavy, and increased material waste due to cutting errors all suggest alignment problems. If test squares cut from the same fabric show different corner angles or edge quality, blade alignment adjustment is required.
Table of Contents
- Understanding Blade Alignment Fundamentals in Auto Fabric Cutters
- Step-by-Step Blade Alignment Procedures
- Verification and Testing Methods for Square Cut Accuracy
- Troubleshooting Common Alignment Issues
-
FAQ
- How often should I check blade alignment on my auto fabric cutter?
- What tools are essential for accurate blade alignment on an auto fabric cutter?
- Can environmental conditions affect auto fabric cutter blade alignment?
- What are the signs that indicate my auto fabric cutter blade alignment needs adjustment?